Gluten-free Buckwheat Bread made with Quick Yeast — and Psyllium Husk Powder
This bread recipe is vegan. And it’s the first bread I’ve made at home with yeast. It’s so simple. I had no idea.
So I used to always made soda breads, when making bread. And when baking gluten-free recipes I always used to use eggs as a binder for the flour. I only recently discovered that psyllium husks are wonderful at clumping your dough together. This is the first recipe I’ve used psyllium husk power in, so if you are looking for more information about baking with psyllium husk, visit this link.
The good news is, it’s so simple to make this bread. I now make this rather than buying bread. It’s that easy to do.
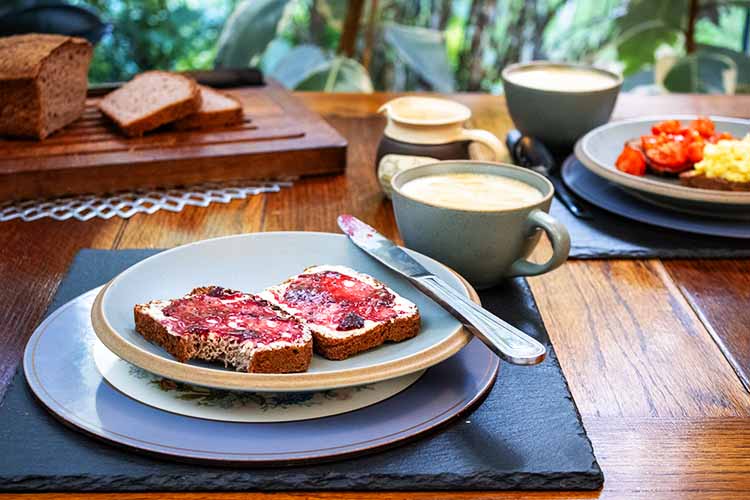
One thing to note is that if you don’t use blond psyllium husk powder, your dough is going to be a slightly greyish mauve colour. I coulnd’t find where to source the blond stuff — so hopefully my photos give you an idea of what to suspect. I think it looks fine and it tastes good. So if you also are having trouble sourcing blond psyllium husk powder, don’t let that stop you.
This bread doesn’t need kneading either. It really is super simple. Hope you try it.
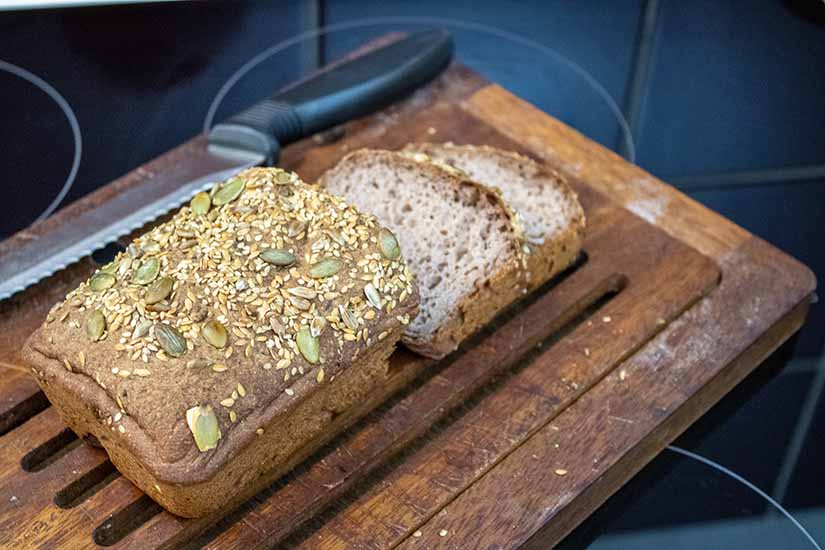
Gluten-free Buckwheat Bread made with Quick Yeast
Yield: 2 Loaves (7″ x 4″)
Suitable for: Gluten-free diet
Ingredients:
- 1 cup buckwheat flour
- 1 cup gluten-free plain flour
- ⅛ cup psyllium husk powder
- 1 tsp quick yeast
- 1 tbsp date syrup
- 1 tbsp regular olive oil, plus extra for greasing
- ¼ salt
- 450 - 500 ml warm water
- mix of seeds, optional
Instructions:
Sift the dry ingredients into a deep bowl
Place all the dry ingredients into a large sieve above a deep bowl. Use a fork or spoon to carefully mix all these ingredients together and through the sieve. You want everything mixed well together and evenly distributed.Stir the wet ingredients together well
Pour a generous tablespoon of date syrup (or brown sugar if you don’t have date syrup to hand) into a measuring jug and pour in a tablespoon of regular olive oil. Extra virgin olive oil is too viscous to work as a substitute - you could use sunflower oil or a tablespoon of melted butter instead. Next stir in 450 ml of warm water until it is all well blended together. It is important that the water is warm — to activate the yeast — but not hot — which will probably kill the yeast.Combine wet & dry ingredients
Pour the warm liquid into the dry ingredients and mix around well so that there is no dry flour left. It often hides itself well, so really mix around well.Let it rise
When everything is well blended together cover the bowl with a tea-towel and leave to rise for about 45 minutes in a warm kitchen (or any warm room). By this point the dough should have risen well.Divide the dough between two loaf tins & let rise some more
Grease two small loaf tins (7″ x 4″) with a little regular olive oil or whatever you’re using. Divide the dough in two and place each half in each of the loaf tins. The dough will be very sticky. But just scrape it off your fingers into the tins. If you want seeds on top, sprinkle them on now. The dough may appear to deflate a little when you have it divided between the loaf tins. Don’t worry you’re going to let it rise in the tins for a further half an hour.Bake & then let cool completely
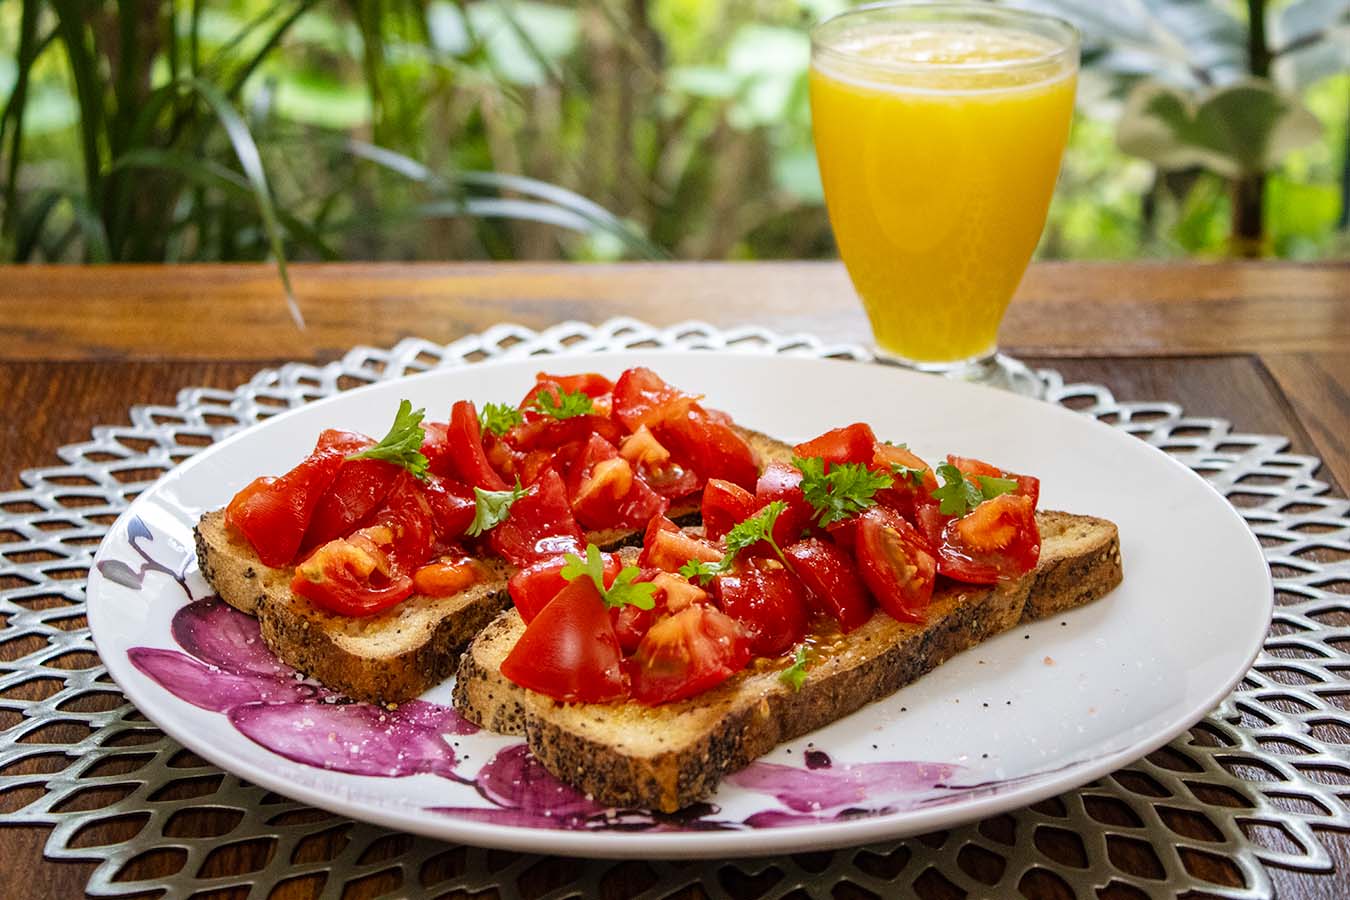
Bake in an oven at 180° C for about 1 hour. When you take the loaves from the tins, when you tap their basses it should make a hollow sound. That’s how you really know they’re done. Place the loaves on a wire tray or rack and leave to cool completely before slicing.- Note: This bread has a hard crust but is it very soft so I find it best to toast it always first. But if you prefer your bread untoasted — just make sure whatever you spread on it is soft and very very spreadable.
Enjoy!